Hello, dear readers. Today, we’ll discuss a topic that’s essential for your car’s safety — the Service Side Detection System (SDSS). We’re diving deep into what it is, why it matters, and of course, how to reset service side detection system when needed.
Understanding Service Side Detection System
The Service Side Detection System is an integral part of modern vehicles. This nifty feature uses sensors and cameras to keep an eye on your car’s blind spots. It alerts you when another vehicle or object comes dangerously close, thus avoiding potential accidents. It’s like having an extra set of eyes on the road.
Importance of Service Side Detection System
You can’t put a price on safety, and the Service Side Detection System helps make your drives more secure. With its real-time alerts, you can take corrective action well in time, ensuring that you and your passengers are safe.
Common Issues with Service Side Detection System
As advanced as they are, these systems are not immune to problems. Common issues can include sensor failures, software glitches, or calibration errors. These issues can compromise the system’s efficiency, hence the need to reset it from time to time.
When Should You Reset Service Side Detection System?
Pay attention to the warning signals on your dashboard. Frequent false alerts or a complete lack of alerts are common signs that it’s time for a reset. Moreover, if you’ve been in a minor collision or if the sensors are obstructed, a reset could be necessary.
Tools You’ll Need
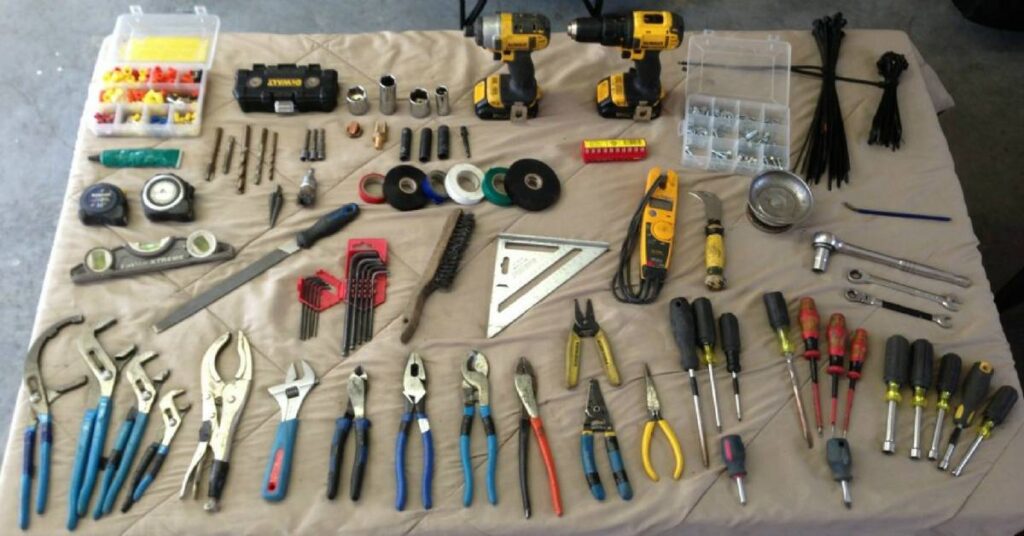
To reset the system, you might need a screwdriver, a set of wrenches, and an OBD-II scanner. However, the exact tools depend on your car’s make and model.
How to Reset Service Side Detection System
Here’s where the rubber meets the road. Follow these step-by-step instructions carefully to reset your Service Side Detection System successfully.
- Safety First: Make sure your car is parked safely and turn off the ignition.
- Locate Sensors: Find the sensors usually located near the rear fender.
- Check Connections: Ensure that the sensors are securely connected.
- Use OBD-II Scanner: Connect the scanner and locate the reset option for SDSS.
- Follow Instructions: Follow on-screen instructions to initiate the reset.
- Test: Turn on the car and test the system.
- Calibration: Some systems may require you to drive for a certain distance to complete the calibration.
Potential Complications
Things don’t always go as planned. You might encounter issues like stubborn sensor bolts or software glitches. Be prepared for such eventualities and consult your car’s manual for troubleshooting tips.
Troubleshooting
If you’re running into problems, don’t panic. Start by checking the basic connections and re-run the OBD-II scanner. If the issue persists, you might need professional help.
Pros and Cons of DIY vs Professional Help
Going the DIY route can save you money but might be time-consuming. On the other hand, a professional can diagnose and fix the issue quickly but at a cost.
Frequently Asked Questions
What is a Service Side Detection System?
It’s a safety feature in modern cars that helps monitor your vehicle’s blind spots.
How often should it be reset?
Only when you experience system issues or after a minor collision.
Can I do it without professional help?
Yes, the steps are relatively simple for those comfortable with basic car maintenance.
What are the tools required for a reset?
A screwdriver, wrenches, and an OBD-II scanner are commonly needed.
Are there any risks involved in resetting it yourself?
Potential complications include sensor or system damage if not done correctly.
Conclusion
There you have it! A comprehensive guide on how to reset service side detection system. If you’re still facing issues, it’s best to seek professional help. Otherwise, happy driving and stay safe!